
Tutorial Video
Work Instruction
Entering a Test Result
Prerequisites: You must have Item Testing Requirements created, and the necessary triggers for testing (Receipt, Production, or Re-Test) before proceeding to this step.
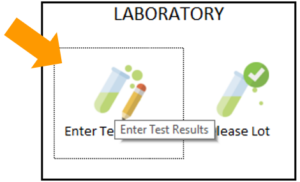
To enter a test result, select the Enter Test Result button on the display menu.
Click Find in the menu to select the relevant sample, or the barcode can be scanned. The sample information along with the test parameters will be shown.
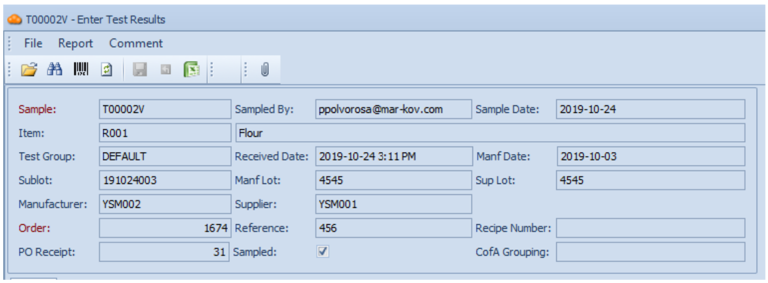
The test results can be entered in the Results column. For numeric results, the result is automatically filled in.
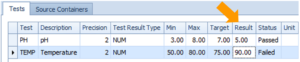
For other results, the Status column can manually be changed via a drop down.
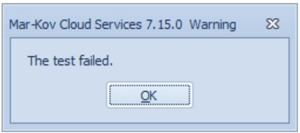
Note that having a “Failed” entry in the result column will trigger a warning.
When all test results have been entered, save the progress by clicking Save or Ctrl + S on the keyboard. The program will confirm if the sublot is to be released. Note that confirming this prompt will launch the Disposition Sublot Program.

For more information about this feature, please refer to the section regarding Lot Disposition/Release.
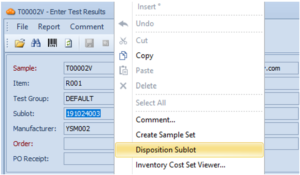
Alternatively, this program can be launched by right clicking the Sublot field and selecting Disposition Sublot. This is especially useful for workflows that have a delay or a difference in responsibilities between receiving items and releasing them.
It is important to note that test samples which have a Failed test result cannot be approved for release.
For reference, you can view available CofAs for this lot by right clicking the Sample field and selecting “View CofA”.
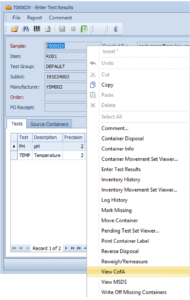
For more information regarding CofAs and importing them into the system, please refer to the section Certificate of Analysis.
Releasing a Lot
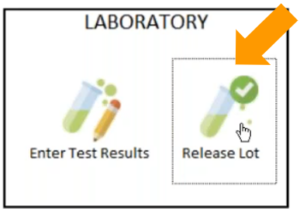
Launch the Disposition Sublot program right after entering test results or select Release Lot from the display menu.
Select “Find” on the menu to list items pending disposition. Select the relevant item.

Set the Expiry Date, if necessary.
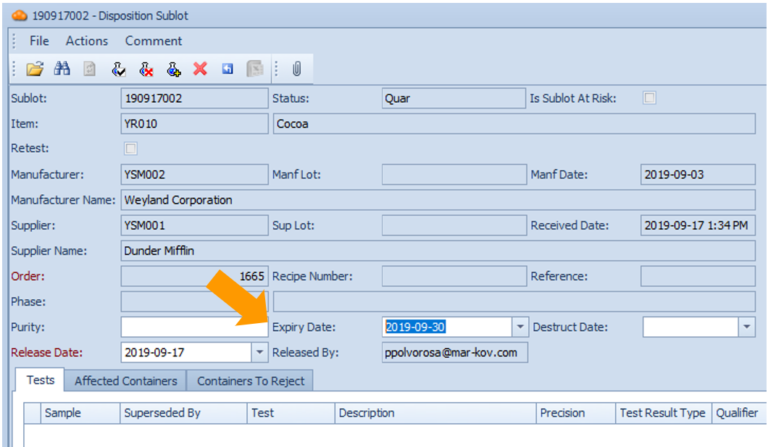
To approve or reject the sublot, select the corresponding button in the menu.
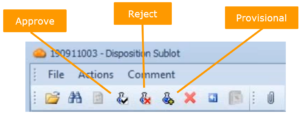
Note the Provisional Pass means that the sample is approved even though not all tests on the sample have been performed yet.
The Status field will change depending on the disposition to confirm the disposition status.
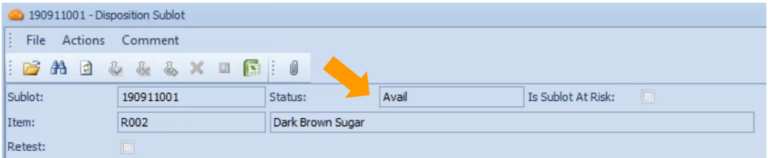
A status of Avail means that this item is now available to use in Batching or Packaging Orders.