
Tutorial Video
Work Instruction
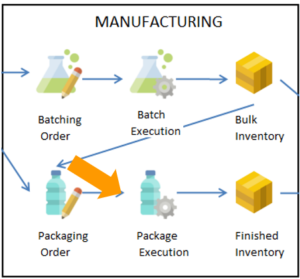
Packaging Execution
This process is the step that converts Packaging Orders into the physical workflow to create the finished good.
Prerequisites: You must have packaging orders created and released before proceeding to this step.
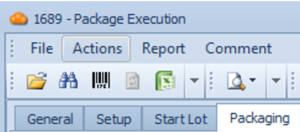
Select the Packaging Execution icon from the display menu.
Select Find, or scan the barcode of the respective Packaging Order you wish to execute.
When you are ready to start production, select the ‘Select Order’ button.
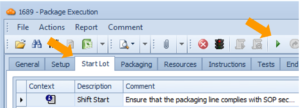
If you have instructions or tests required before the order can be started (such as those outlined in the Recipe Setup and Start Lot), you must record performance of these steps by going to their respective tabs, selecting the task, and clicking the Execute Procedure Step button.
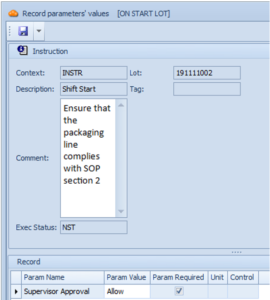
In the following window you can enter any comments or parameter values that you measured. Save the form when complete.
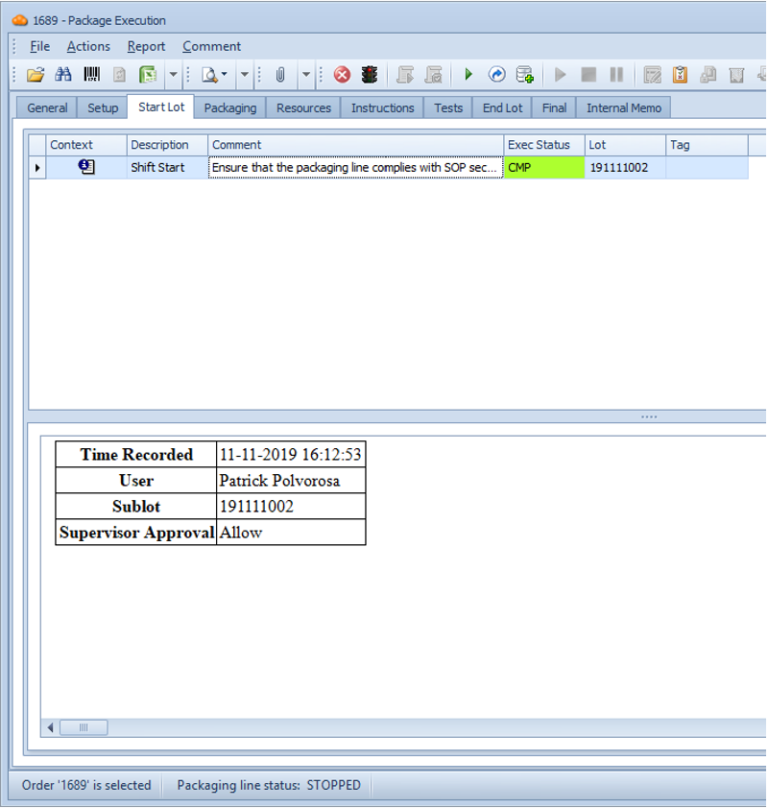
Note that the user who has executed the task will have their signature and timestamp on the Package Execution form.
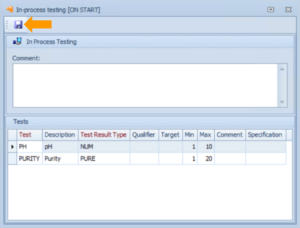
You may have In-Process Tests specified on the order (in the Start Lot, Packaging or End Lot). To draw a sample container, execute the In-Process-Test task and select ‘Save’. The sample label will be printed, so you can record test results against it. The recording can be done at any point of time – during the order execution or after marking it complete.
Proceed to the Packaging tab.
Scan the inventory that is being used. You can scan the container, as well as the bulk source – a vessel from the Batching Order that is still in the process.
When ready, click the ‘Start Packaging Line’ button. At this point, the line is physically running.
While the line is running, the operator will be prompted to execute instructions and record parameters based on the Record Frequencies set on the Packaging Recipe.
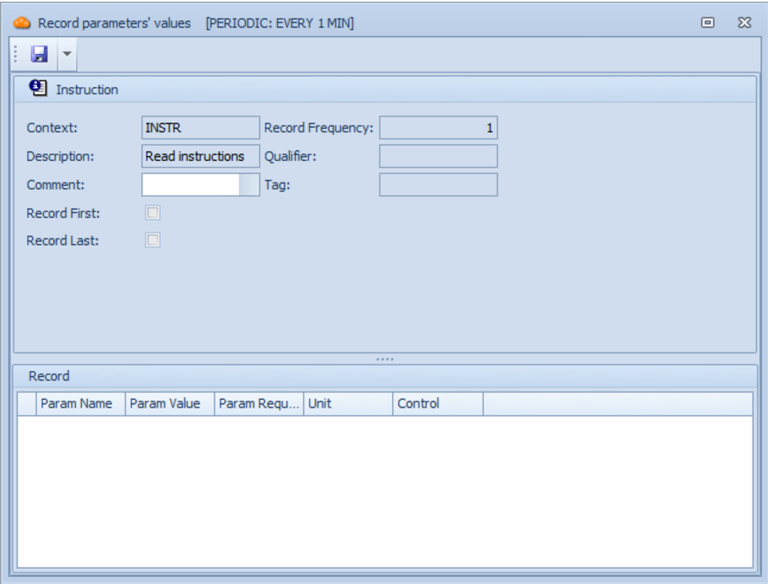
Select ‘Manual Recording’ button at the top, if you wish to trigger the instructions form manually.

When complete, select the ‘Packaging’ button to record yield.

In this window you can record the amount of product produced in each produced container. When you are finished recording the yield, click the ‘Save’ button.
You will be prompted to the preview window where you can print the labels.
When the packaging run is complete, click the ‘Stop Packaging Line’ button.
You may also record scrap. This can be done by selecting the ‘Record Scrap’ button and entering the quantity in the Qty field.
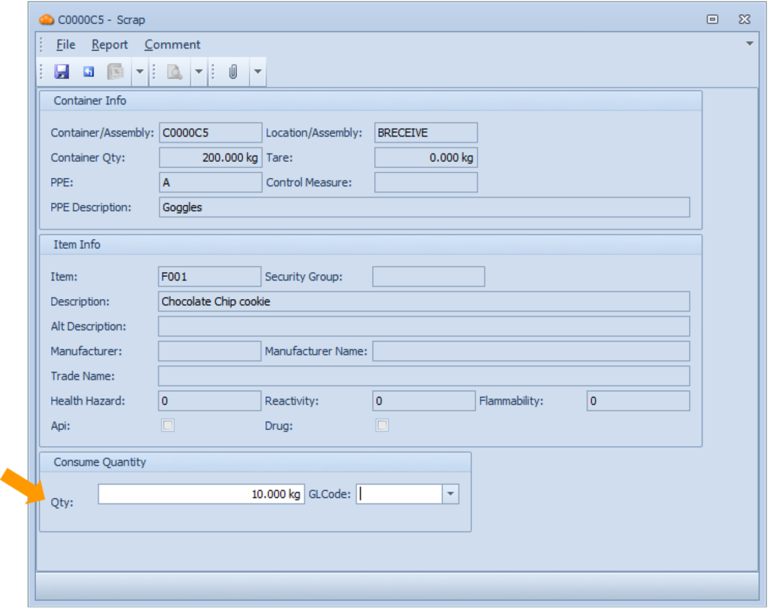
Ensure that the entry is saved by clicking the Save button.
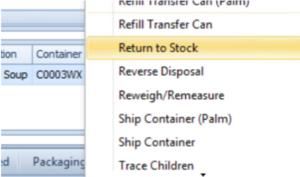
If you scanned any containers when selecting the required materials then these containers must be released before they can be used by other orders. This may be done using the Return To Stock program. Launch the Return To Stock program from the main menu by clicking Transactions >> Manufacturing >> Return To Stock or by selecting from the context menu of the container number.
You may open the context menu by right clicking on the Container field.
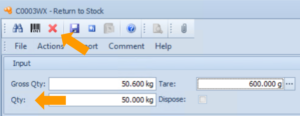
The Qty field shows how much inventory is supposed to be in the container based upon the system calculation.
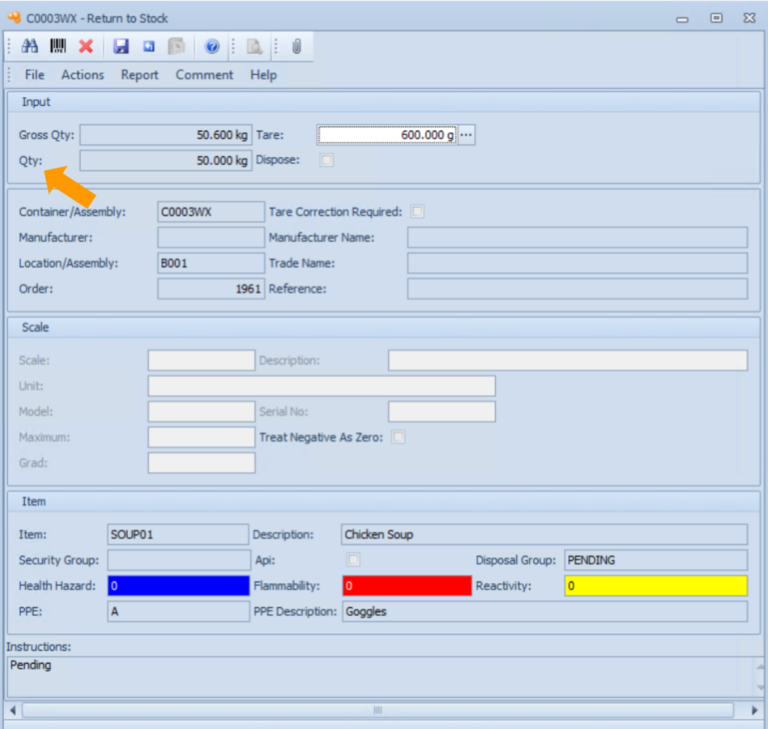
Correct the quantity if required, and select ‘Save’ to return the container to stock. You can also select the ‘Dispose’ button to indicate that there is no inventory left in the container.
When all information has been entered, click the ‘Mark Order Complete’ button. This tells the system that the order is finished and all the yields have been recorded.