
Tutorial Video
Work Instruction
Creating Tank
Open the Create Tank program by going to Transactions >> Inventory >> Create Tank on the main menu.
Scan the source container you want to use, and the details of the source container will be shown:
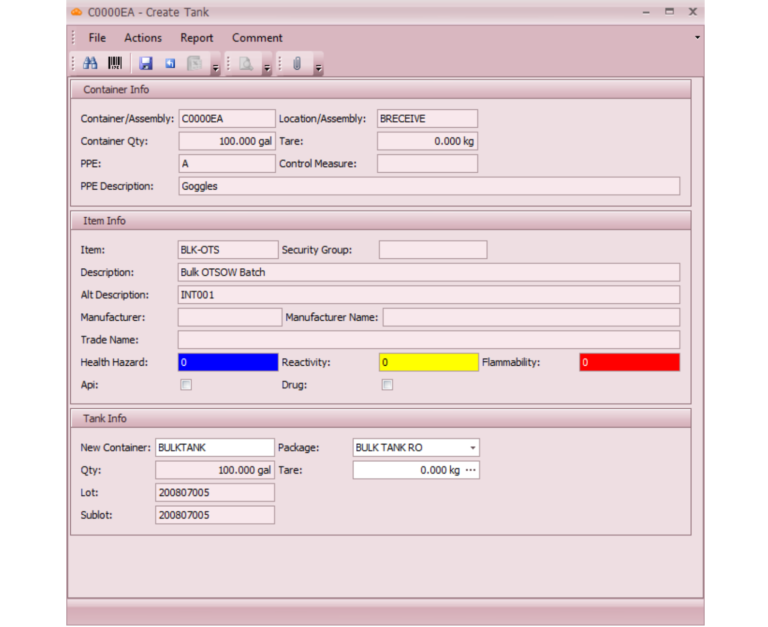
If you wish to assign a new code to a Tank, enter it in the ‘New Container’ field:
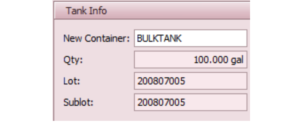
On Save a new container will be created for the Tank containing the inventory from the source container. A label will be printed.
If this is left blank then a new Container number will be assigned on save.
Refilling Tank
Open the Refill Tank program by going to Transactions >> Inventory >> Refill Tank.
Scan the tank you want to refill.
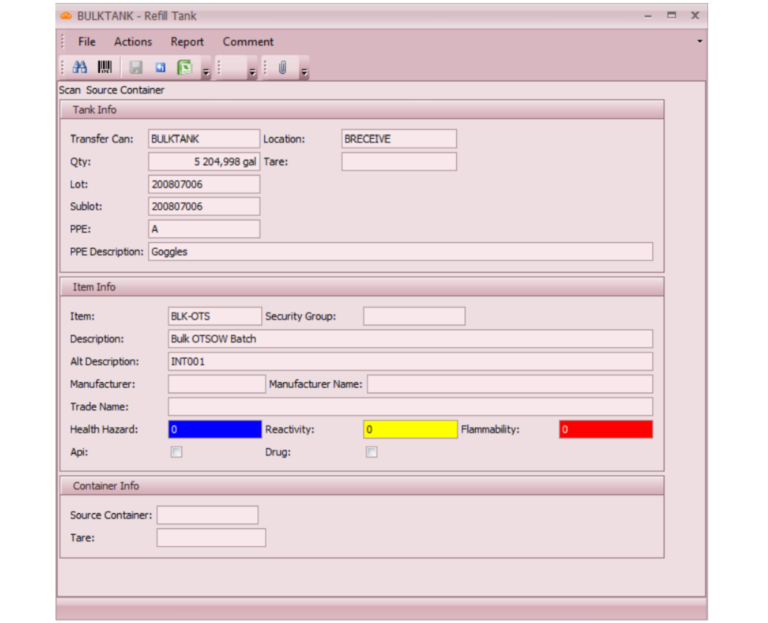
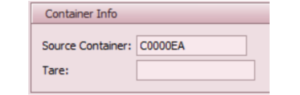
Scan the container that you are adding to the Tank. The container code will be populated in the field below:
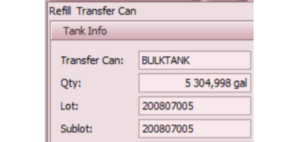
The quantity in Tank will be increased by the quantity in the container:
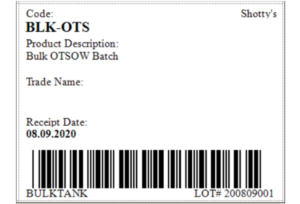
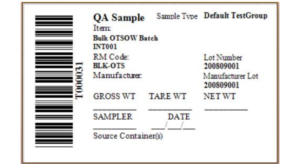
Hit Save to add full quantity from the Source Container to the Tank. If you are mixing two different lots for the first time after the lot in Tank was approved, the new lot with the ‘Quarantine’ status will be created and the sample label will be printed:
Please note that the sample is not taken at this point.
Sampling
In the context of refilling tank, the sample can be generated when two different lots are blended together. However, you will not have to perform testing every time you refill a tank, but instead you can draw a sample and enter the test results against it when you are ready. Therefore, you can add several batches to the tank before drawing a sample from it.
With the Sampling program, you can create a record of drawing a sample from the lot.
To perform sampling, go to Transactions >> Testing >> Sampling and then enter or scan the sample container number from the label.
Enter the quantity sampled and click Save.
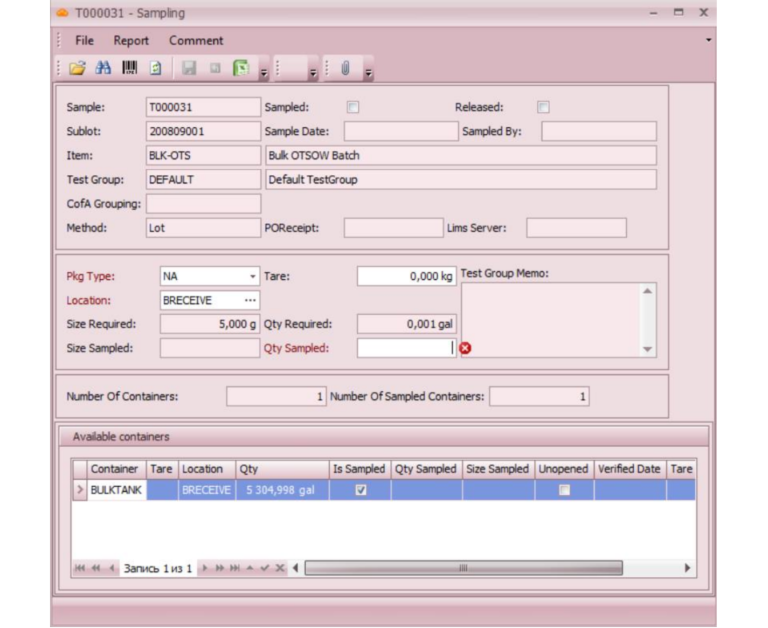
The sample container will be assigned the quantity specified, and the source container quantities will be reduced accordingly.
Entering Test Results
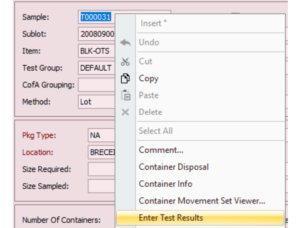
After the sample has been drown, you can proceed with entering test results for the sublot. Go to Transactions >> Testing >> Enter Test Results, or right-click the sample code and select enter Test Results from the drop-down list:
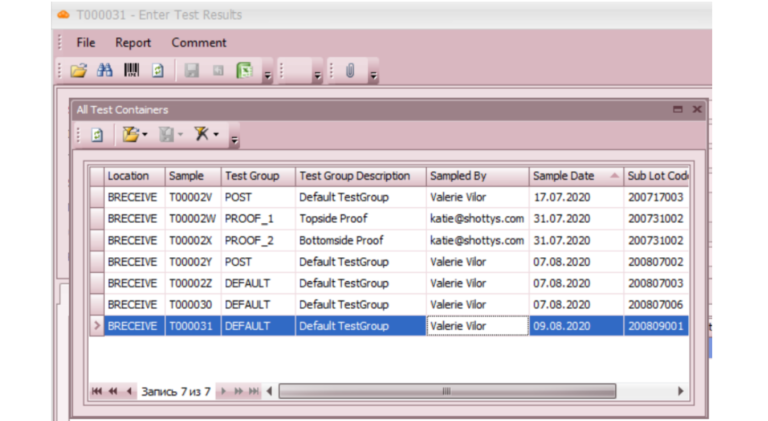
Click Find in the menu to select the relevant sample, or the barcode can be scanned. The sample information along with the test parameters will be shown.
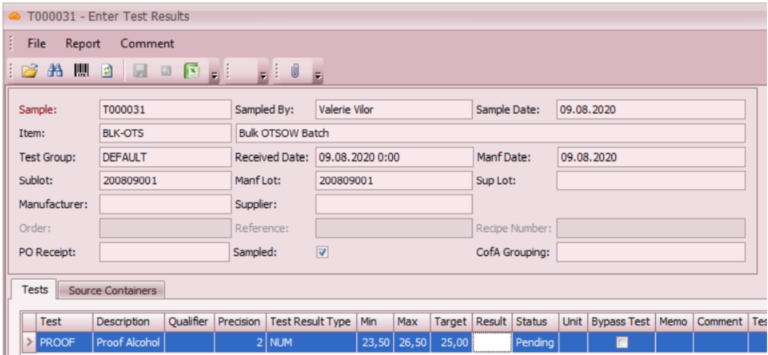
The test results can be entered in the Results column. For numeric results, the result is automatically filled in.

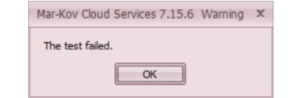
Note that having a “Failed” entry in the result column will trigger a warning.
When all test results have been entered, save the progress by clicking Save or Ctrl + S on the keyboard.
The program will confirm if the sublot is to be released. Note that confirming this prompt will launch the Disposition Sublot Program.

Alternatively, this program can be launched by right clicking the Sublot field and selecting Disposition Sublot.
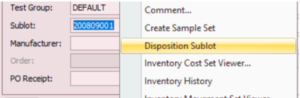
Lot Disposition/Release
If you have not launched the Disposition Sublot form right after entering test results, go to Transactions >> Testing >> Disposition Sublot.
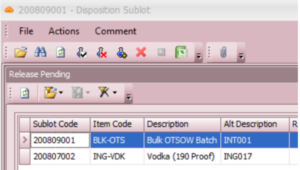
Select “Find” on the menu to list items pending disposition. Select the relevant item.
Set the Expiry Date, if necessary.
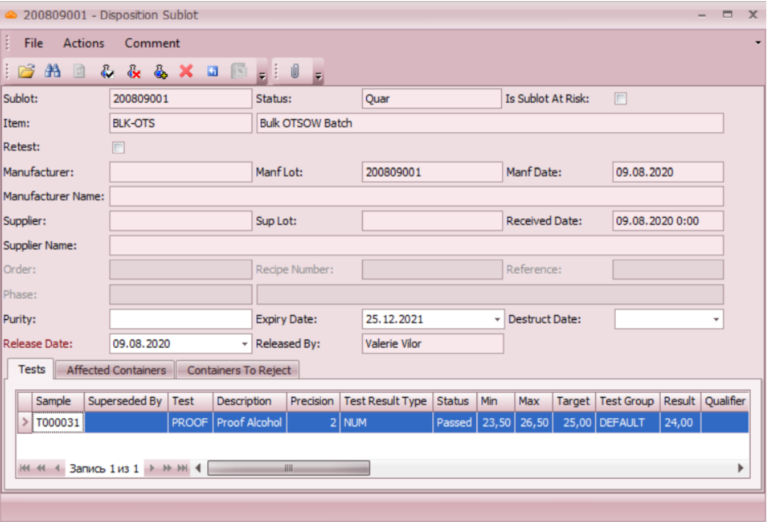
To approve or reject the sublot, select the corresponding button in the menu.

Note the Provisional Pass means that the sample is approved even though not all tests on the sample have been performed yet.
The Status field will change depending on the disposition to confirm the disposition status:
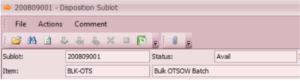
A status of Avail means that this item is now available to use in Batching or Packaging Orders.