
Tutorial Video
Work Instruction
Customers are maintained using the Customer Update and Ship To Update programs respectively. This information populates shipping and billing information on Shipping Orders, and sets various default on these orders such as tax information, freight, and ship via. Every customer must have its record; if multiple shipping addresses are also required then these are set up as Ship To records.
Creating a new Customer
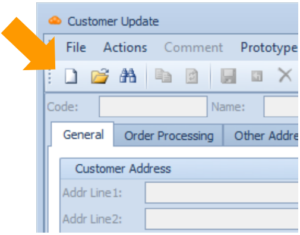
To set up a new Customer, select the Bill To icon from the display menu, or go to Master Tables >> Entity Updates >> Customer Update

Select New:
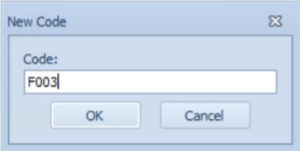
Supply an Entity Code. This could be any unique alpha-numeric identifier.
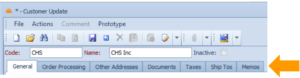
Specify Customer’s Name.
All relevant information can be entered under these tabs. Most of the fields shown below are defaults, which are automatically populated on the Shipping Order when the Customer is selected.
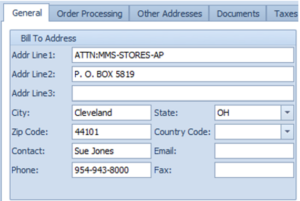
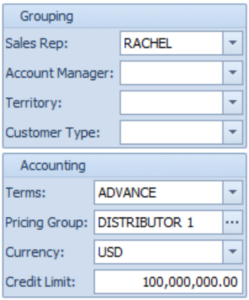
Under the General tab, specify the contact and accounting details.
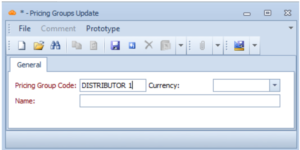
Specify a Pricing Group, if you wish to select it on the Shipping Order for this Customer. The Pricing Group can have Price Lists specified for them (simply specify the Pricing Group Code as the Entity Code when you create a new Price List).
Set a Credit Limit field to a large amount, e.g. $100,000,000.00. This is to ensure that the Shipping Order for that Customer would not be put on the Credit Hold. The reason why the order is put on credit hold is because the customer’s credit limit is below the total value of the order + unpaid invoices. If the customer has multiple open shipping orders and unpaid invoices, their total value has to be equal to or less than the customer’s credit limit.
Terms refer to the agreed upon terms of payment.
Save your progress by pressing Ctrl + S on your keyboard, or selecting the ‘Save’ button.
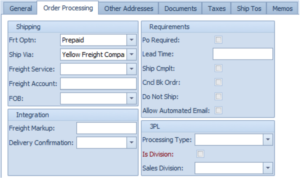
Specify the shipping options and requirements for processing the order on the Order Processing tab.
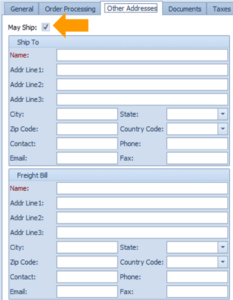
Set the ‘May Ship’ flag if you wish to ship directly to this Customer. Specify the address and the contact details for shipping.
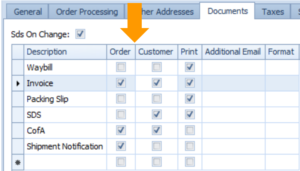
On this tab, you can specify the documentation package produced during the waybill creation:
- Configure the document, so it can be printed on the Waybill form, by checking the ‘Print’ flag for the document.
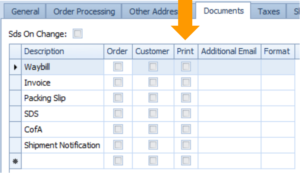
- Configure the document, so it can be sent to the specified email address. If the flag is set on ‘Order’ then the document would be sent to the email address specified on the Shipping Order. If it is set on ‘Customer’, the document would be sent to the email address of the Customer. Specify any additional email addresses for the documents to be sent to under ‘Additional Email’ tab.
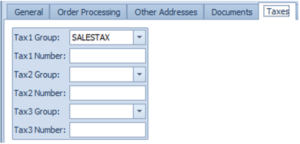
Prerequisites: You must have Tax Groups created before setting them under this tab.
The Tax Number for the appropriate Tax Group can be entered for your records.
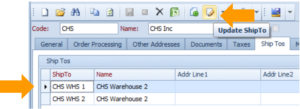
This tab contains a list of the codes, names and addresses of the Ship Tos linked to the Customer.
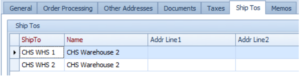
You can create new ‘ShipTo’ record for the selected customer by hitting the ‘Create ShipTo’ button, and you can modify the existing ‘ShipTo’ record by highlighting it in the list and hitting the ‘Update ShipTo’ button.
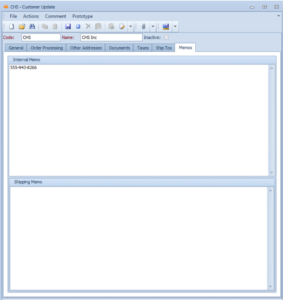
The Shipping Memo enables you to attach text on a Packing Slip and on an Invoice.
The Internal Memo can only be seen by you.
Modifying an Existing Customer
Prerequisites: You must have Customers created before proceeding to this step.
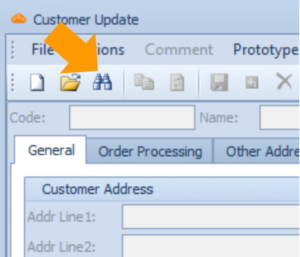
To modify an existing Customer, select the Bill To icon from the display menu.

Select Find, and select the Customer that you wish to edit.
You can then modify the information as needed.