Tutorial Video
Work Instruction
Entering Purchase Receipts - Inventory, Lot Trace
Prerequisites: You must have Purchase Orders created before proceeding to this step.
You can access the Purchase Receipt program from the main menu by clicking Transactions >> Receiving >> Purchase Receipt
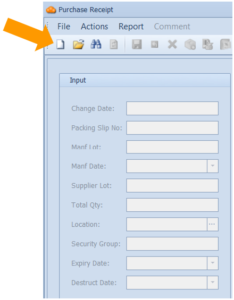
Click the New button.
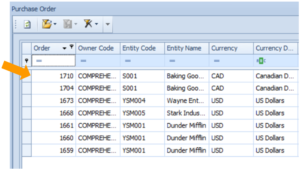
Select the corresponding Purchase Order from the list.
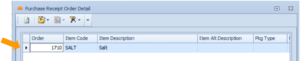
Select the relevant purchase order detail.
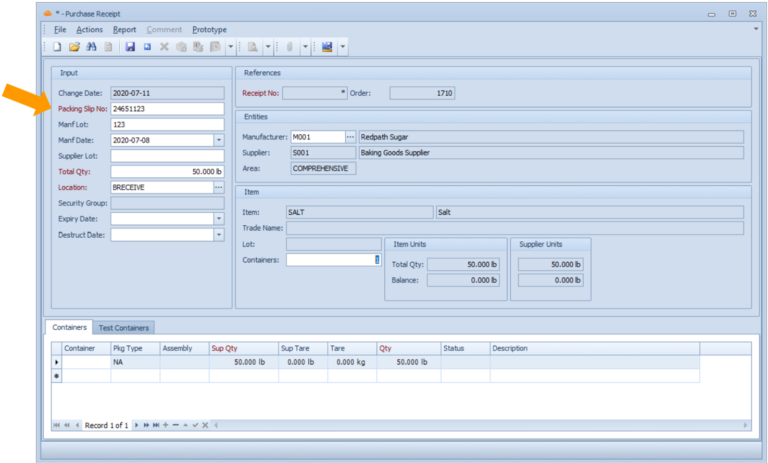
Enter all the relevant information. Note the Packing Slip No. field is mandatory.
Save your progress by pressing Ctrl + S on your keyboard.
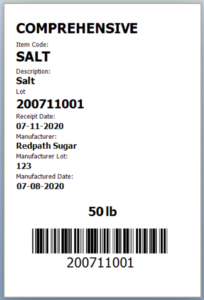
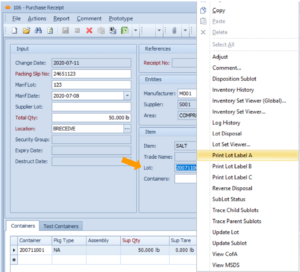
To print the lot label, right click on the lot number and select one of the three Lot Label options.
Enter the relevant information in the next window and select the magnifying glass button to see a preview. Alternatively, you can directly print from here or export the label to Excel.
The PerPkg field determines the amount of that item, in the Entity Unit, per package.
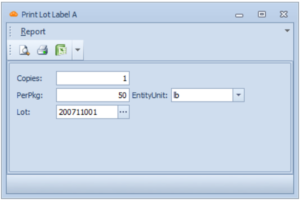
This is the lot label being generated.