This is typically for entities that have their products sold through a 3rd party i.e., same products sold under a different company name.
Work Instruction
Configure the Sales Division
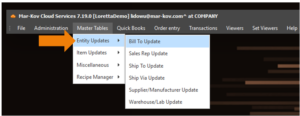
From the Main Menu Bar, Select Administration >> Entity Updates >> Bill To Update.
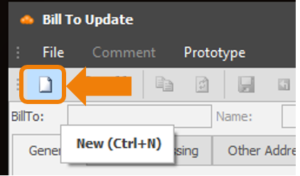
Once the program opens, select new to create a new entity.
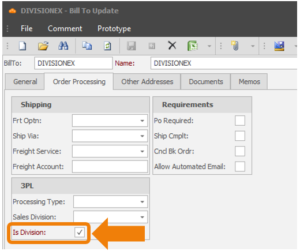
Fill in the necessary information as you would with any other Bill To entity. For the system to recognize this as a division the “Is Division” flag must be checked under the order processing tab.
Select save to complete the entity creation.

Once saved the entity is saved it is available to be chosen as a sales division.
Attach Division Logo
Once the BillTo entity has been saved, a logo representing the sales division can be saved. This logo will be on all shipping documents signed with their sales.
To attached a logo to the entity, select the comment field.
This will bring up the Comment window. Select new:

Select the category of LOGO, enter the subject as LOGO then drag and drop image of logo into the description space.
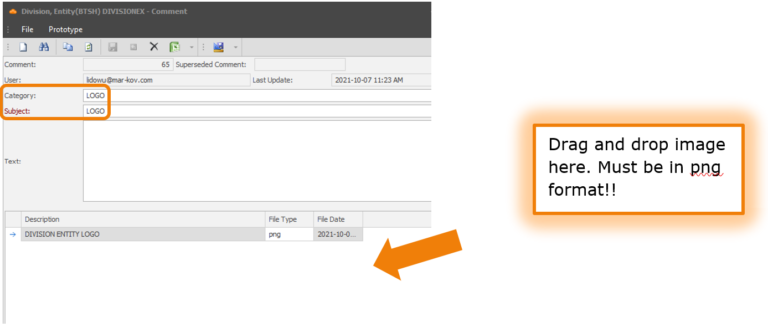
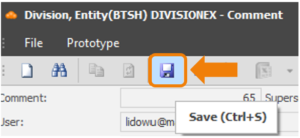
Select save to complete the image upload to the entity.
Processing Division Orders
When creating the customer in BillTo update, under the order processing tab, sales division needs to be set to the Sales Division that was created above. This indicates that sales to this customer is made on the division’s behalf.

When creating a shipping order for this customer, sales division would automatically be entered as the Sales Division indicated in the BillTo program. If the sales division field is left blank, it indicates the sale belongs to the Company.
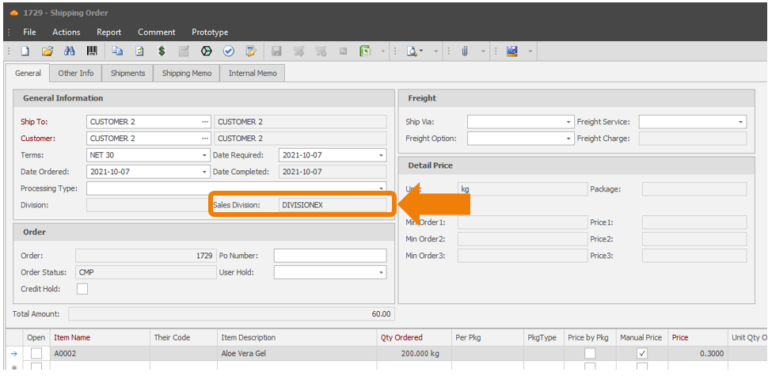
The sales division field ensures the documents seen by the customer (Packing List and Invoice) displays the logo for the Sales Division (who is sale is on behalf of) and not the company.
Note: This configuration only affects the shipping documents. If there is a difference in the accounting and/or inventory ownership further configuration must be completed.
