Staging allows you to gather raw materials, bulk material and packaging components needed in manufacturing to a specific location. This helps to quickly locate the materials required for manufacturing and return material to stock.
Tutorial Video
Work Instruction
Configuration
Define one or more location for each zone and that’s where you will be delivering the inventory
Master Table >> Miscellaneous >> Bin Update
Select New:
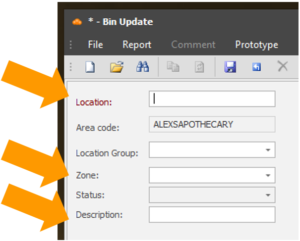
Enter your location information in the Location Code, Zone, and Description fields.
Note: The Zone directs staging and represents where material needs to be delivered to for the order (i.e. Preweighing Zone, Batching Zone, etc.).
Select Save:

Define a mobile location to keep in transit inventory.
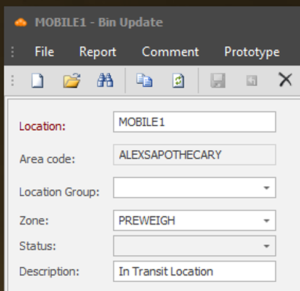
When you are ready to begin the staging process, change to your mobile location.
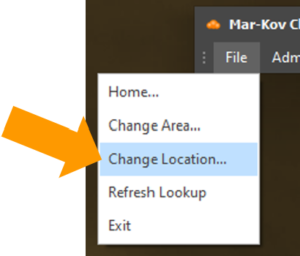
Select File >> Change Location
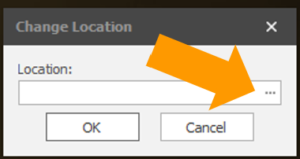
Select the location using the three dots in the Location field.
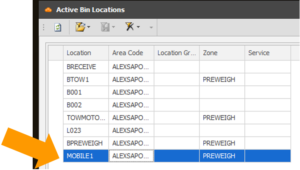
Select the mobile location to begin the staging process.
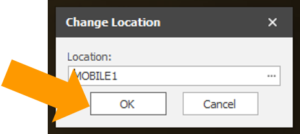
Select OK
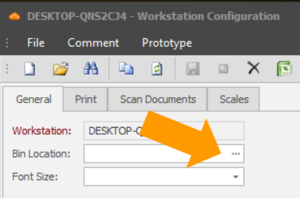
If staging is the only function a computer will perform, you can configure the default bin location as the mobile location.
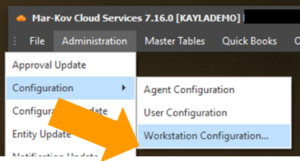
Select Administration >> Configuration >> Workstation Configuration
Select the default location using the three dots in the Bin Location field.
Select the Save Icon to save your progress. Alternatively, you may enter Ctrl + S on your keyboard.

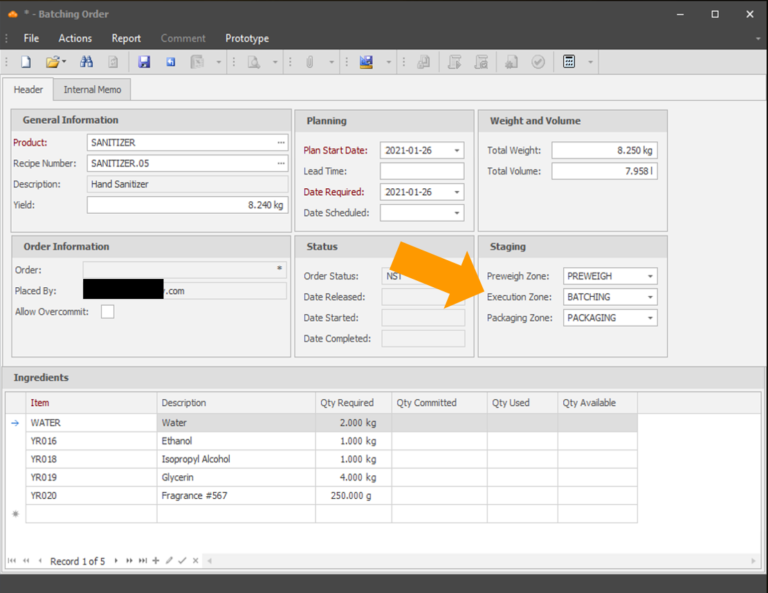
The zones you wish to perform staging for your order can be defined in the Batching Order program. Select the zones you wish to perform staging using the drop down menus in the Preweigh Zone, Execution Zone, and Packaging Zone fields. By default, these zone are PREWEIGH, BATCHING, and PACKAGING respectively.
Returning Inventory to Stock
Select the Return to Stock Icon
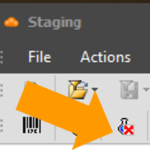
The Return to Stock window will display all items not needed in the specified zone.

To return an item to stock, scan the container. A list of eligible locations will be displayed in the Legal Bin Locations window as well as the number of containers currently present in the location.
Note: The Legal Bin Locations window respects the storage rules configured for items.
Scan the location you are returning the item to stock.
Staging Inventory
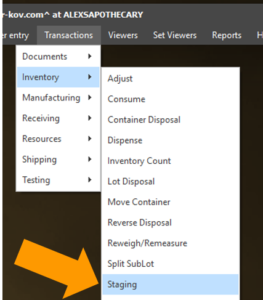
From the Main Menu, Select Transactions >> Inventory >> Staging
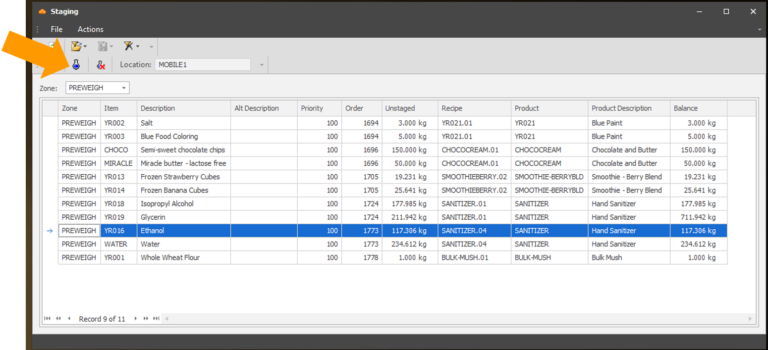
The Staging window will display a list of all inventory needed for current released orders in the specified zone. Select the item you wish to stage, then select the Staging Details Icon.
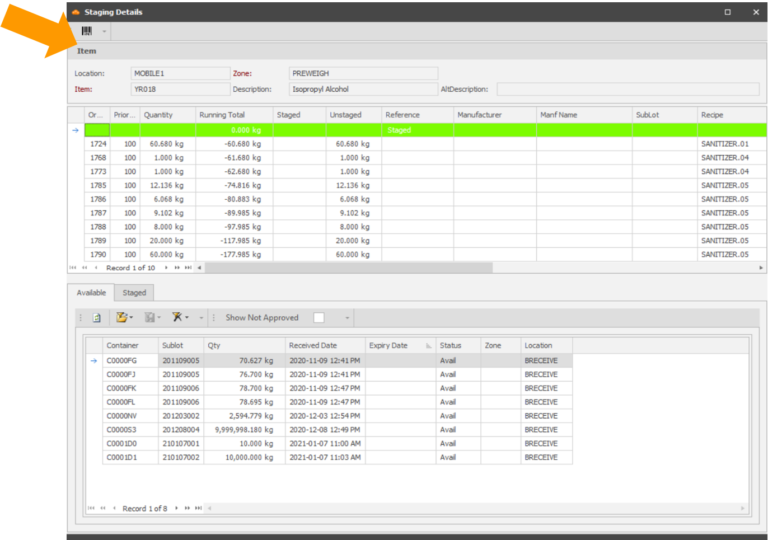
The available containers in the Staging Details program are sorted with the soonest to expire.
To stage the inventory, you will go to the location and find the container you wish. To record you have taken the container and carrying it on mobile location, scan the container code using the Barcode icon or enter Ctrl + B on your keyboard.
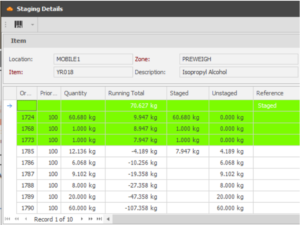
As you scan inventory for staging, the Staging Details program will display progress towards staging your orders. Orders with a green highlight indicate that the order is completely staged.
Continue scanning containers until all necessary orders are completely staged.
You may also indicate you are delivering inventory to a targeted location in a specified zone. To do this, scan a location. Alternatively, you may use the Barcode icon or enter Ctrl + B on your keyboard.
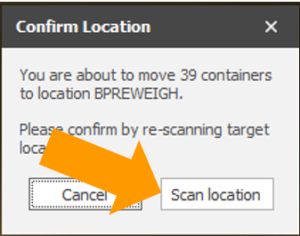
Scan the location again to confirm the inventory movement.
