Tutorial Video
Work Instruction
Adding Testing Requirements on Items
Prerequisites: You must have Items created before proceeding to this step.
Note the testing requirements for an item only need to be set once. When saved, the testing requirements for that item will be in effect for future use.
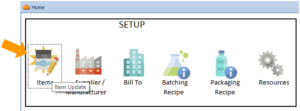
Select items from the display menu.
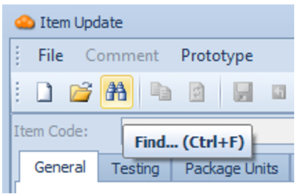
Click Find
Select the item you wish to add the testing requirements to, and go to the Testing tab.
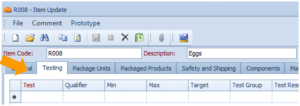
You can list the testing requirements in this tab. You can select an example test in the Test field by clicking the drop-down button and selecting the appropriate test.
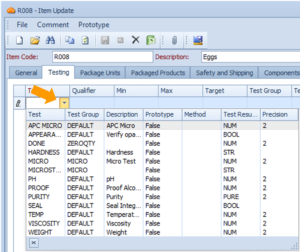
For tests with result type of NUM, the minimum, maximum, and target values can be set by entering them in the appropriate columns.

Another test parameter can be added by clicking on the Test field just below the first row.

Customized testing parameters can also be defined by right clicking on an empty field and selecting Test Update.
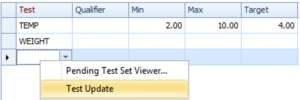
This brings the Test Update window. Click New to create a new testing parameter and name the test.

You can then modify the Test information as needed.
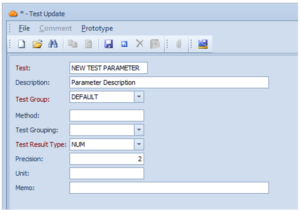
A Test Group refers to the items on the same group that only need one sample amongst them.
Test Result Type
There are various test result types as shown.
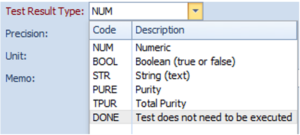
The most commonly used types are described below:
NUM: Allows numerical values to be entered. If the testing is within the allowable range, then the test is a pass.
BOOL: Requires the input of either a pass or a fail as a test result.
STR: Requires the input of either a pass or a fail as a test result, along with a comment.
The system triggers sampling/testing on the item in particular situations. This can be configured by checking or unchecking these:
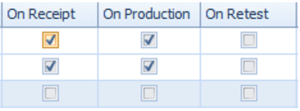
Note that if the On-Receipt flag is checked, the system will trigger a prompt to print a QA sample sticker upon receipt of the item. The same is true for the On Production and On Retest flags in their respective situations.
Save your progress by clicking the Save button or Ctrl + S on the keyboard.
